Thickness: PS Light Guide Panels can be classified based on their thickness. They are available in various thicknesses, ranging from a few millimeters to several centimeters. The thickness of the panel can affect its light transmission properties, rigidity, and overall functionality.
Size: PS Light Guide Panels can also be classified based on their size. They are manufactured in different dimensions to suit various applications. The size of the panel determines the area of light diffusion and the coverage it provides.
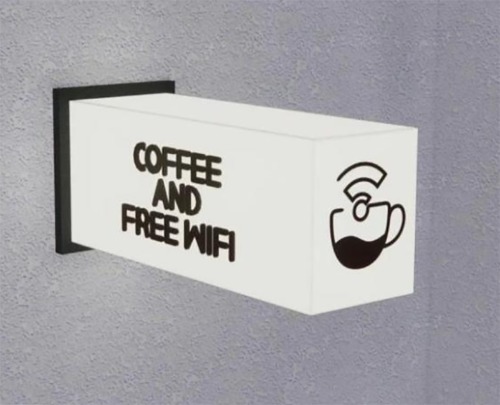
Shape: PS Light Guide Panels can come in different shapes, such as rectangular, square, circular, or custom shapes. The shape of the panel may depend on the specific application or design requirements.
Light Diffusion Pattern: PS Light Guide Panels can be classified based on their light diffusion patterns. The diffusion pattern determines how evenly the light is distributed across the panel's surface. Panels can have different diffusion patterns, including dot matrix, line, or custom patterns, to achieve specific lighting effects.
Transmittance: Another classification parameter for PS Light Guide Panels is their transmittance level. Transmittance refers to the amount of light that passes through the panel. Panels can have varying levels of transmittance, ranging from high transmittance for maximum light output to low transmittance for specific lighting effects or privacy purposes.
Surface Finish: PS Light Guide Panels can have different surface finishes, such as matte, glossy, or textured. The surface finish can affect the appearance, light diffusion, and viewing angles of the panel.
Customization: PS Light Guide Panels can be classified based on their customization options. Some panels can be customized with features like laser etching, printed graphics, or specific sizes and shapes to meet specific project requirements.
It's important to note that the classification of PS Light Guide Panels can vary based on the manufacturer, specific product lines, and industry standards. The classification parameters mentioned above provide a general understanding of how PS Light Guide Panels can be categorized.Besides,The installation process for PS (Polystyrene) Light Guide Panels may vary depending on the specific product and application. However, here is a general guide on how to install PS Light Guide Panels:
Measure and Prepare: Begin by measuring the area where you plan to install the PS Light Guide Panel. Take accurate measurements of the dimensions, ensuring that the panel will fit properly. Prepare the necessary tools and materials for installation, such as screws, brackets, adhesive, or mounting clips, based on the specific mounting method recommended by the manufacturer.
Mounting Method: Determine the appropriate mounting method for your PS Light Guide Panel. The mounting method can vary depending on the panel size, weight, and the surface you are installing it on. Common mounting methods include direct mounting, using brackets or clips, or using adhesive. Consult the manufacturer's instructions or guidelines for the recommended mounting method.
Surface Preparation: Ensure that the surface where the panel will be installed is clean, smooth, and free of any dust or debris. If necessary, clean the surface using a mild detergent or alcohol solution. Allow the surface to dry completely before proceeding with the installation.
Direct Mounting: If you are directly mounting the PS Light Guide Panel onto a surface, position the panel in the desired location and mark the mounting hole locations on the surface. Drill pilot holes at the marked locations, taking care not to damage the panel. Securely attach the panel to the surface using screws or other suitable fasteners.
Mounting with Brackets or Clips: If using brackets or clips, attach the brackets or clips to the mounting surface as per the manufacturer's instructions. Slide the PS Light Guide Panel into the brackets or clips, ensuring a secure fit. Make any necessary adjustments to ensure the panel is level and properly aligned.
Adhesive Mounting: If using adhesive, apply a suitable adhesive to the back of the PS Light Guide Panel according to the manufacturer's instructions. Press the panel firmly onto the prepared surface, ensuring even contact between the panel and the surface. Allow the adhesive to cure as recommended before applying any stress or load to the panel.
Electrical Connection: If the PS Light Guide Panel requires electrical connection, follow the manufacturer's instructions for wiring and electrical installation. Consult a qualified electrician if needed to ensure proper and safe electrical connections.
Finishing Touches: Once the PS Light Guide Panel is securely installed, inspect the installation for any alignment issues or gaps. Make any necessary adjustments or add finishing touches, such as concealing wires or adding decorative trim, to enhance the appearance of the installation.
It is crucial to follow the manufacturer's specific installation instructions and guidelines provided with the PS Light Guide Panel. These instructions may provide detailed steps and precautions specific to the product, ensuring a successful and safe installation.


 English
 中文
中文 Español